 Dice Trail
Better decisions, one game at a time.
Dice Trail
Better decisions, one game at a time.
For base-game owners who know the rules but get stuck with an opening hand that has no obvious combo. A downloadable 14-page PDF.
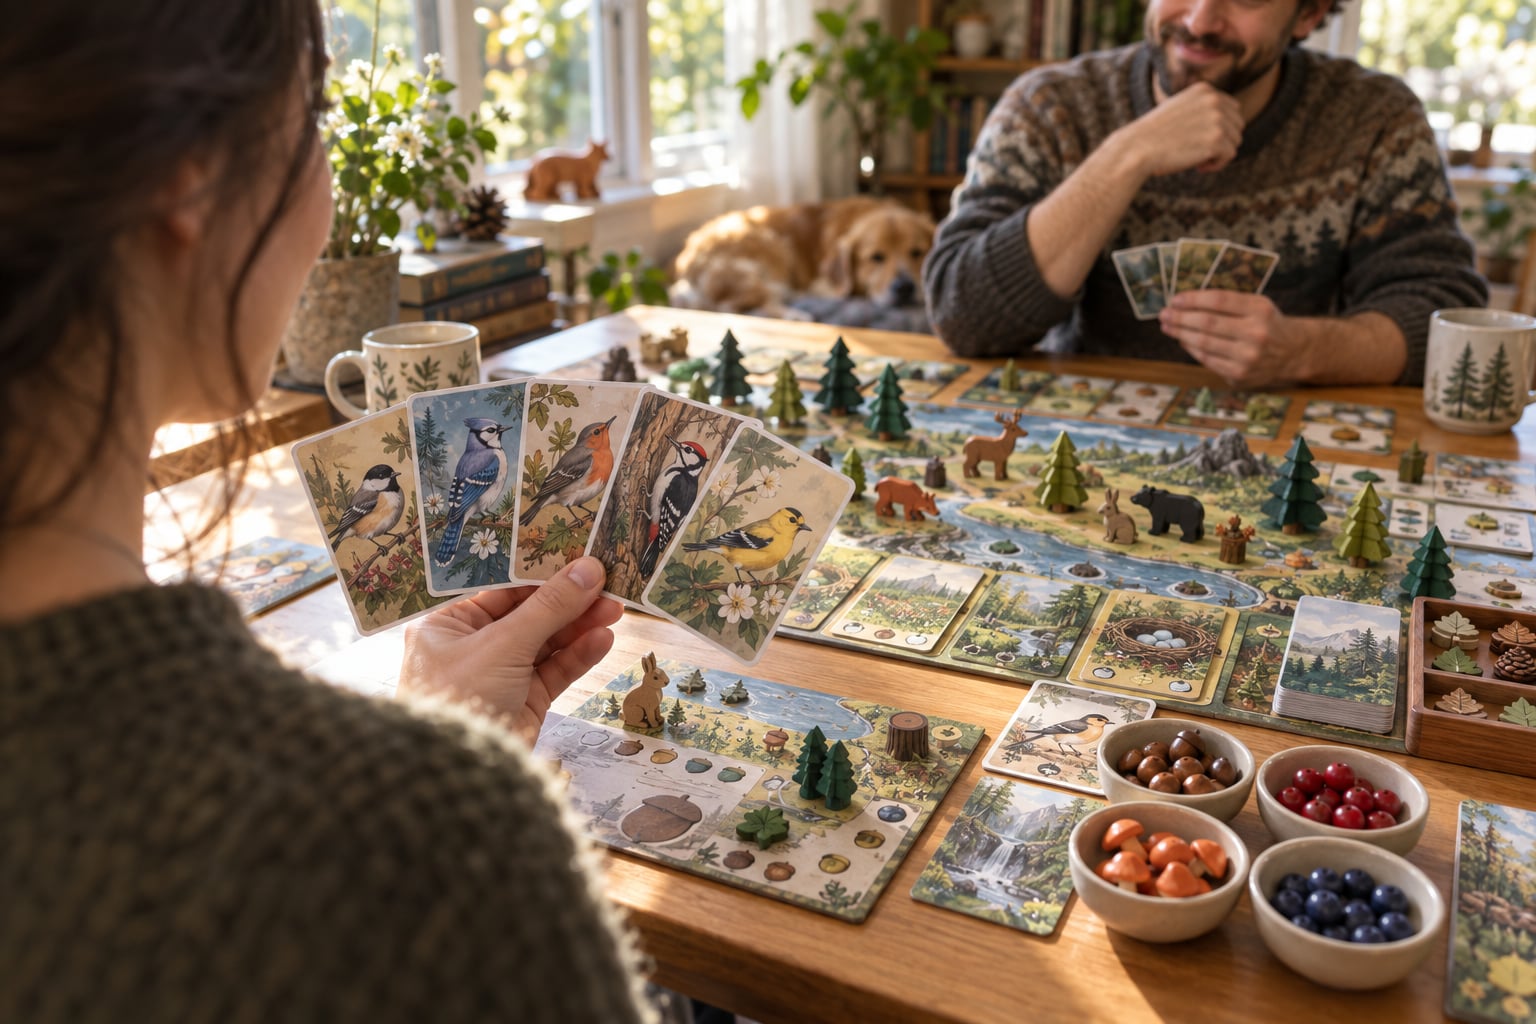
You know how to play, but none of your starting birds looks like a clear plan. Keep too many, and you may lack food for the first one you can play. Spend an action drawing blind, and you still may not have a route forward.
Triage the hand, identify the next useful play, and stop fixing the opening once a workable route exists.
Keep birds with an immediate job and food for the first bird you can realistically play. Let the others go.
Look at the tray before spending an action on an unknown card.
Work backward from your next useful play, then improve the resource action blocking it.
Once one route works, stop spending early actions trying to make the hand look better.
Revisit the opening decisions before your next game.
The guide has 10 sections. The first two preview chapters are shown in full here, so you can judge whether the approach fits before buying.
An awkward hand becomes easier to read when every bird has to answer one question: what does this card do before the opening is fixed? A useful answer might be “gets onto the mat immediately,” “improves the resource action I already need,” or “becomes the supported second play.” Printed points belong further down the list. A bird that asks for several food actions before contributing may be a fine card and still be the wrong card to keep now.
This is why “keep one to three birds” works as common guidance, but not as a quota. The hand decides the number. A cheap bird with a modest power can earn a slot because it opens a habitat promptly. A spectacular card without a payment route cannot. Judge the earliest useful turn, legal habitat, resource effect and payment burden together.
| If | Then | Because |
|---|---|---|
| Playable promptly and improves food or card access | Keep as a starter candidate | It creates future options |
| Playable promptly with a modest power | Keep if it opens the needed habitat | Board improvement can outweigh card quality |
| Costly with no clear payment route | Discard | It takes food and actions before helping |
| Useful only after an engine exists | Usually discard | You are solving the opening, not the whole game |
Birds and food are one opening package, not two separate choices. Under the setup rule, every bird you retain costs you one of the five starting food tokens. The attractive third bird in your hand therefore has a hidden price: the food it displaces, plus any gain-food action needed to replace that token. Work backward from the first bird you mean to play and protect that payment first.
Exact costs make an opening more exposed to the feeder. Flexible costs make it easier to turn what is available into a prompt play, while the rule allowing two food to substitute for one can be an expensive emergency route. Do not keep ingredients for every possible future card. Keep the payment for the earliest useful placement, then let later actions fund later birds.
Shown here: Rule 1 and Rule 2. The remaining sections cover the short version, tray checks, blocked actions, sequencing, when to stop, common mistakes, a next-game section, and a quick reference.
Choose an immediate job for a bird and keep the food that makes that first play realistic.
Check the tray before drawing blind, then address the resource action blocking your next play.
Once you have a workable route, stop rescuing the hand and follow it.
The 14-page guide covers starting-hand selection, food for your first bird, tray checks, blocked resource actions, action order, and when to stop rescuing. It also includes common mistakes, a next-game section, and a quick reference.
$3.97
Get the guide14-page PDF · no subscription · works on any device
Without a way to triage the hand, it is easy to keep guessing at each early action instead of building toward the next useful play.